「浅羽ビオトープ」で野鳥観察 ~2026年3月~


Bluetooth接続に対応したマウスであれば、USBポートの数が少ないノートパソコンやタブレットパソコンにも、簡単に接続することができます。
今回は、「パソコンにBluetooth対応マウスを接続する方法」について解説します。
注意事項
本記事公開時点(2023年6月24日)におけるWindowsやmacOSのバージョンは以下の通りです。
WindowsやmacOSのバージョンによっては、設定方法が異なる場合がありますので、あらかじめご了承ください。
1. Bluetoothで接続したいマウスの電源を入れます。
2.スタートボタンを右クリック→「設定」の順にクリックします。
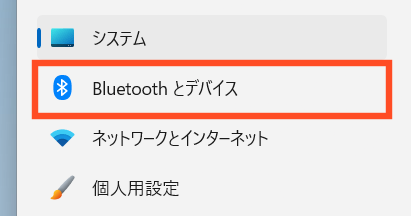
3.「Bluetoothとデバイス」をクリックします。
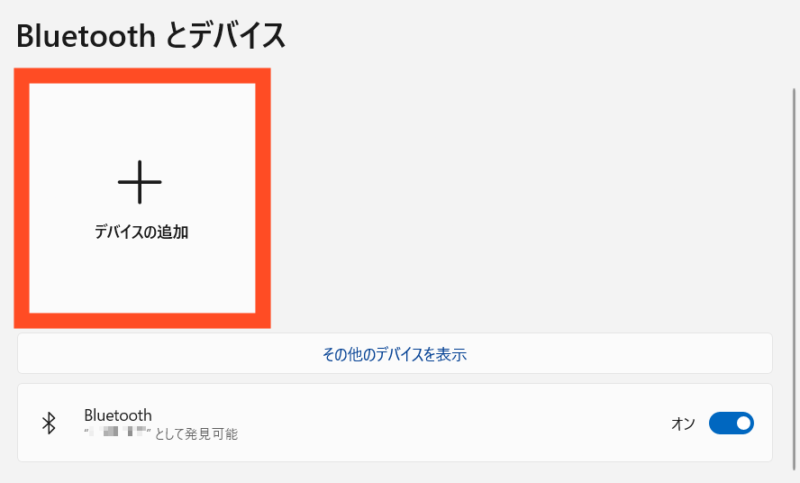
4.「Bluetooth」を有効化します。

5.「デバイスの追加」をクリックします。
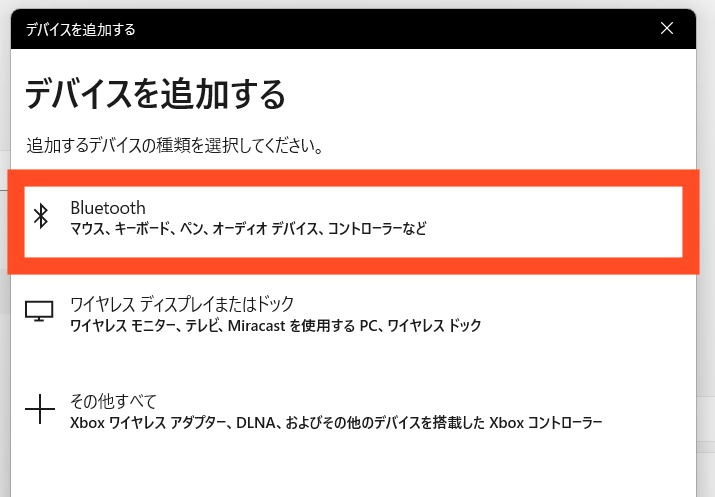
6.「Bluetooth」をクリックします。
7.Bluetooth対応マウスの裏側にあるボタンを3秒間長押しして、接続モードにします。
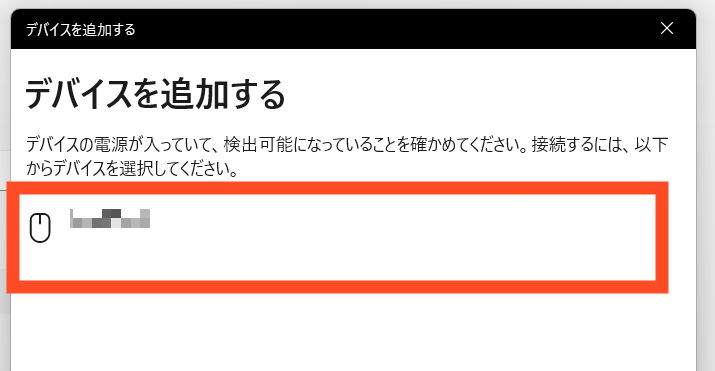
8.「デバイスを追加する」画面に、以下のような画面が表示されますので、先ほど接続モードにしたマウスを選択します。
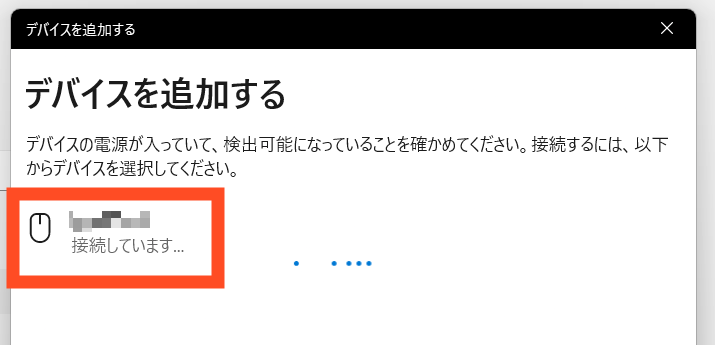
9.次の画面に切り替わるまで、しばらく待ちます。
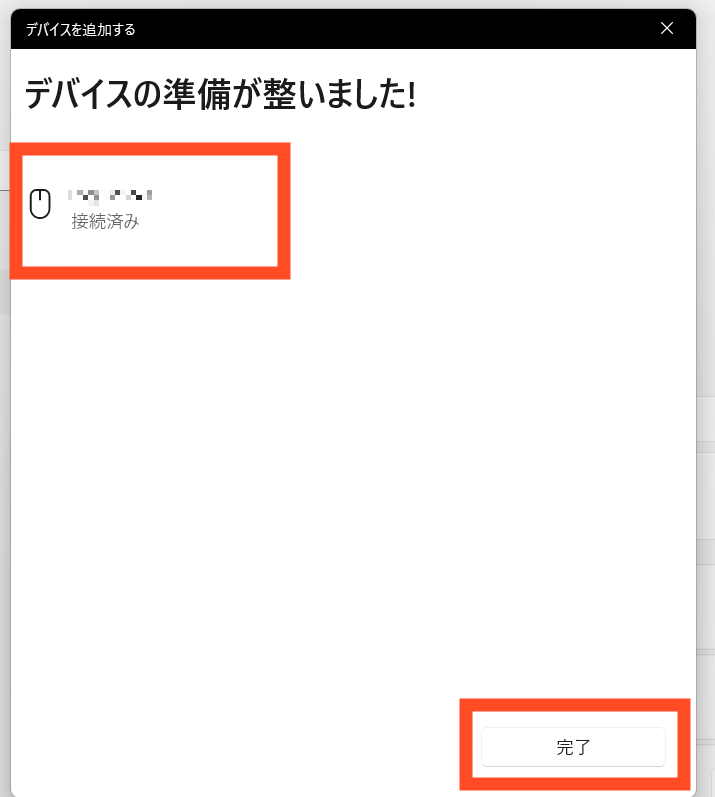
10.以下の画面に切り替わったら、「完了」をクリックします。
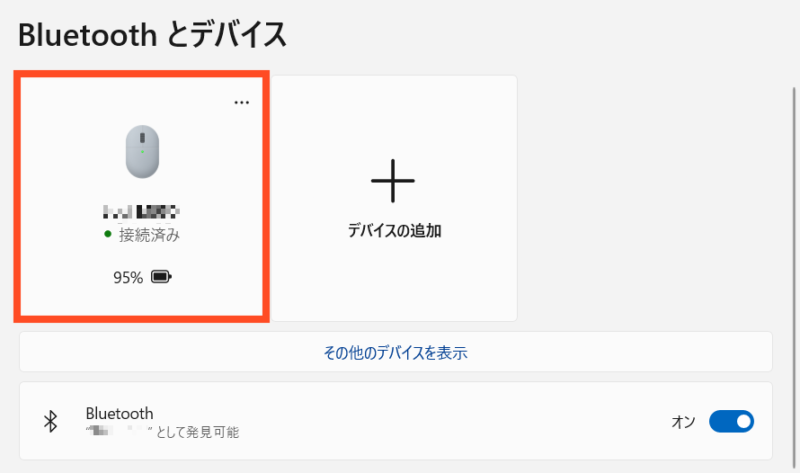
11.「接続済み」となっていることを確認したら、Bluetooth接続は完了です。
1. Bluetoothで接続したいマウスの電源を入れます。
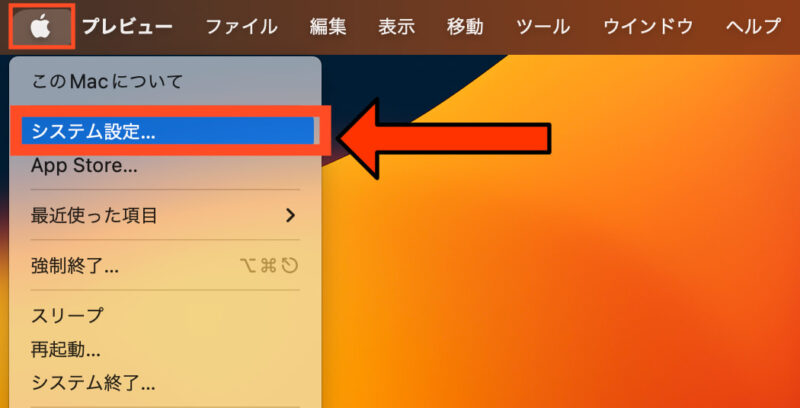
2.Appleメニュー→「システム設定」の順にクリックします。
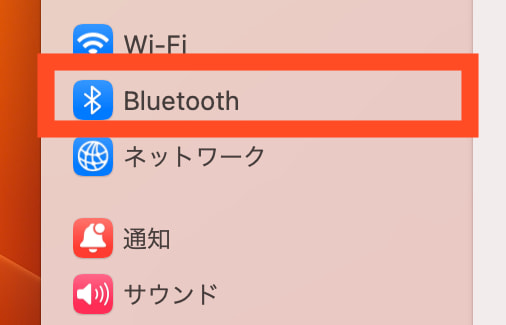
3.「Bluetooth」をクリックします。
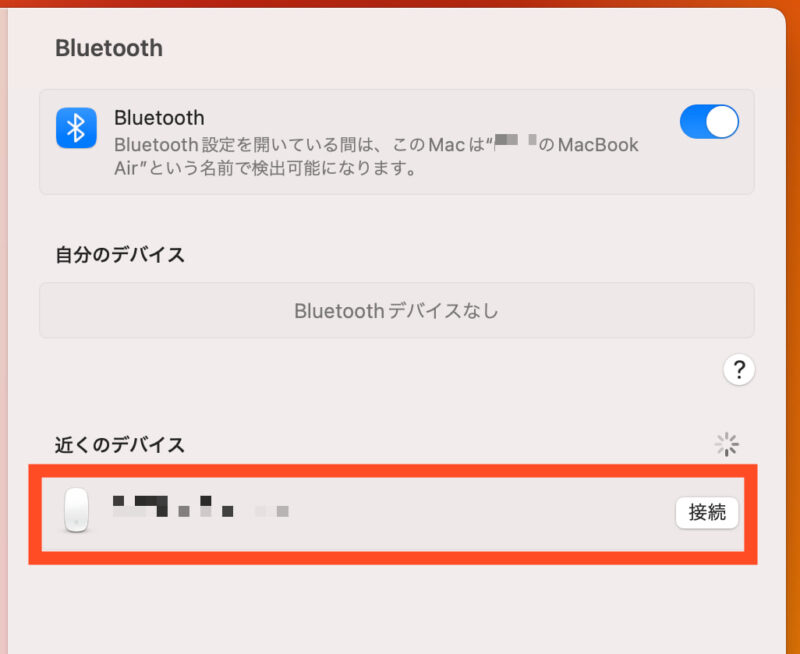
4.「Bluetooth」を有効化します。

5.Bluetooth対応マウスの裏側にあるボタンを3秒間長押しして、接続モードにします。
6.「近くのデバイス」にマウスが表示されたことを確認したら、「接続」をクリックします。
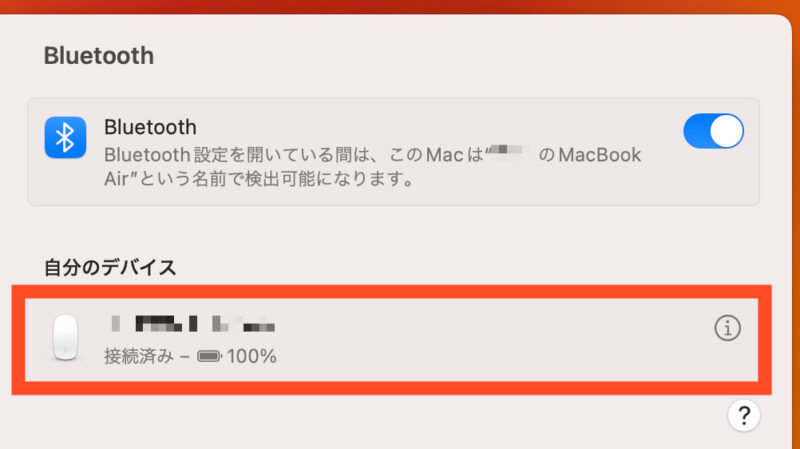
7.「自分のデバイス」部分にBluetoothマウスが表示されたことを確認したら、Bluetooth接続は完了です。
今回は、「パソコンにBluetooth対応マウスを接続する方法」について解説しました。
USBポート数が少ない、あるいはUSBポート自体が無いノートパソコンやタブレットパソコンでも、Bluetooth対応のマウスでパソコン上にBluetooth接続することで、USBポートを使わずにマウスをパソコンに接続することができます。
参考になれば幸いです。