「浅羽ビオトープ」で野鳥観察 ~2026年3月~

基本的には、GIMPの機能だけでも画像にウォーターマークを入れることができます。
しかし、画像を開いて、いちいちウォーターマーク用の画像をペタペタと貼り付ける、という作業はとても面倒ですよね。
そこで、今回は「BIMPプラグインのバッチ機能を使い、画像にウォーターマークを簡単に入れる方法」について解説していきます。

複数枚の画像を一気に加工することができるので、とても便利だよ!
ウォーターマークとは?
その作品が著作者の持ち主であることを示すマークの事。要するに、著作権保護のために入れる図や文字。
※既にBIMPをダウンロードした方は読み飛ばしても構いません。
1.まず、以下の配布サイトにアクセスします。
2.お使いのパソコンに合わせたインストーラをダウンロードします。
※この記事ではWindows版BIMPをGIMP内にインストールしていきます。
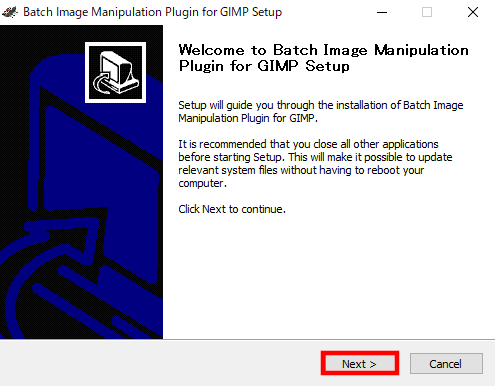
3.ダウンロードしたファイルをダブルクリックして、インストーラを開きます。

4.「Next」をクリックします。
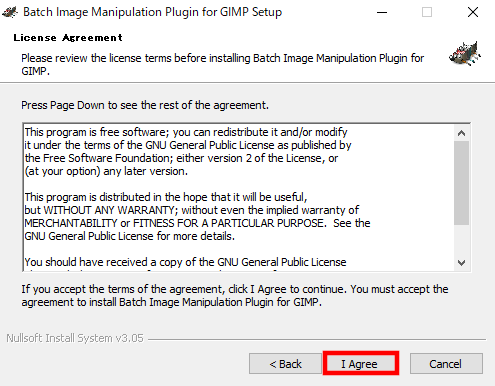
5.ライセンスをよく読み、「I Agree(同意する)」をクリックすると、インストールが始まります。
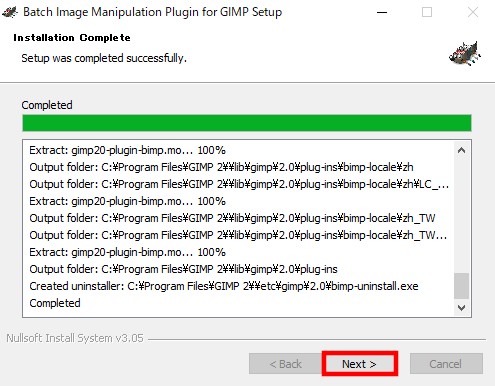
6.インストール完了したら、「Next」をクリックします。
7.「Close」をクリックしたら、BIMPのインストールは完了です。
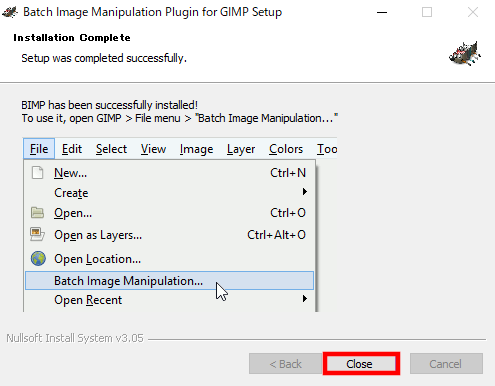
BIMPを使って、実際に画像内にウォーターマークを入れてみます。
BIMPのウォーターマーク機能は、文字または画像を使って入れることができるよ。
GIMPを起動し、「ファイル」→「Batch Image Mainpulation Plugin」をクリックします。
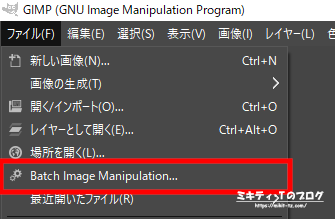
「Batch Image Mainpulation Plugin」画面が表示されます。

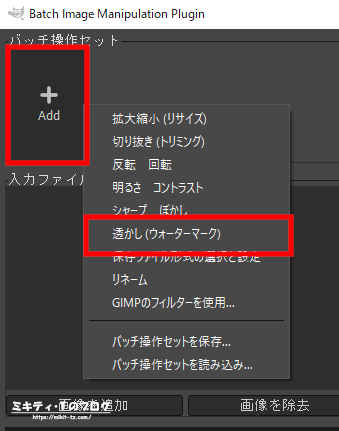
「Add」をクリックし、「透かし(ウォーターマーク)」をクリックします。
試しに、文字を使って画像にウォーターマークを入れてみましょう。
フォントサイズは72、エッジ部分は25px、右下の位置にウォーターマークを入れてみます。
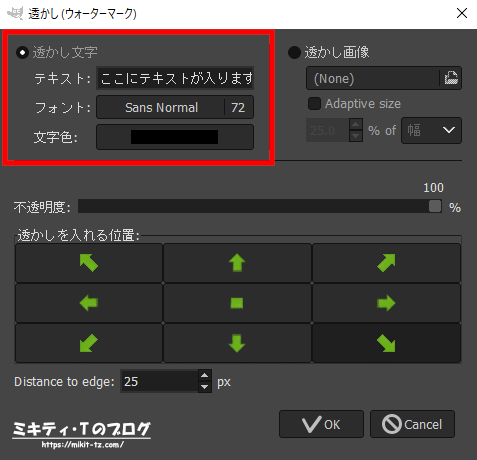
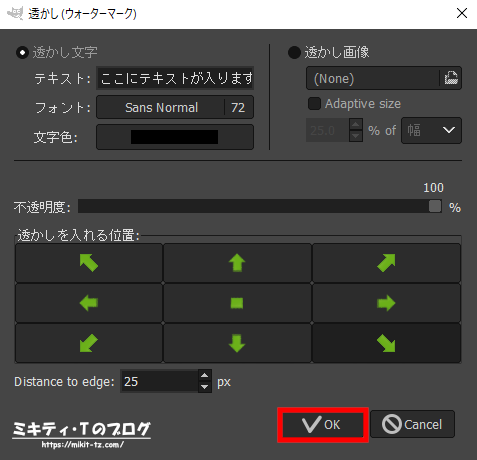
設定したら、「OK」をクリックします。
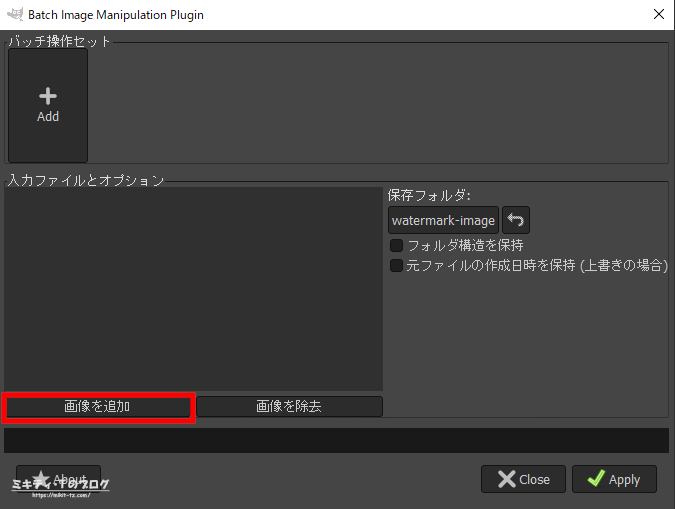
「画像を追加」から、好きな画像を選択します。
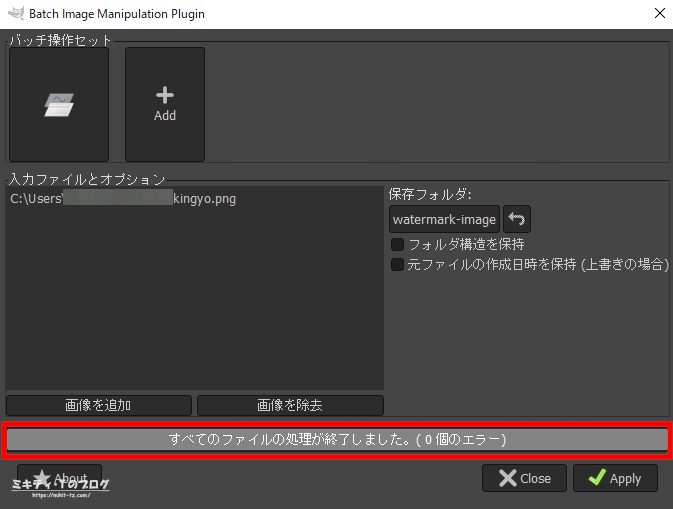
「Apply」をクリックすると、ファイルの処理が始まります。
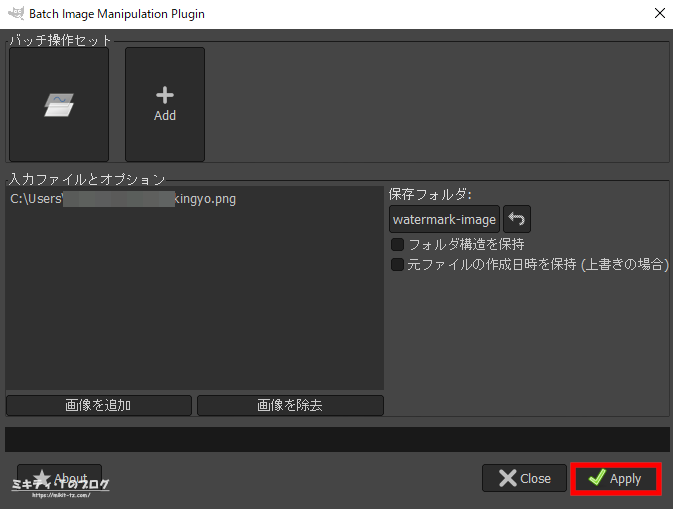
「すべてのファイルの処理が終了しました。」と表示されたら、完了です。
▼以下のようにウォーターマークが挿入されました。
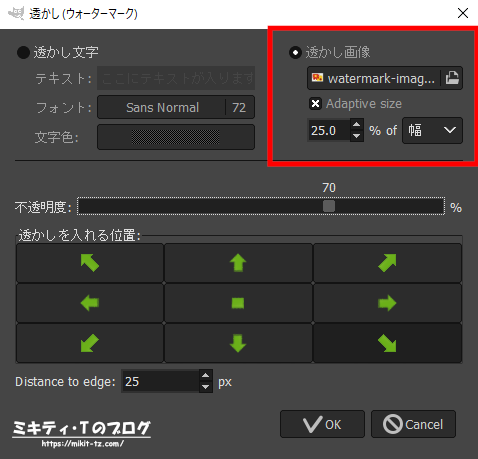
同様の手順で、今度は文字の代わりに画像を入れてみます。
画像サイズは幅25%に縮小し、不透明度を70%、エッジ部分は25px、右下の位置にウォーターマークを入れてみました。
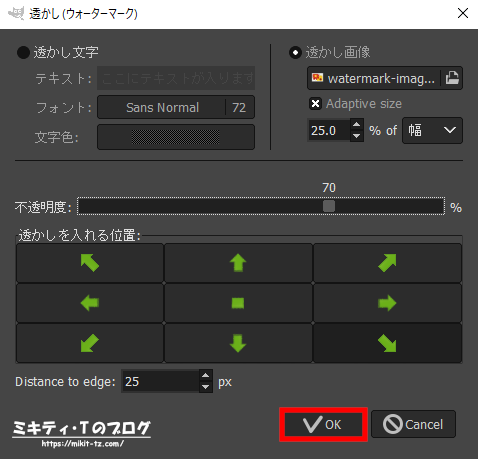
「OK」をクリックし、先ほどと同様に「Apply」をクリックして実行します。
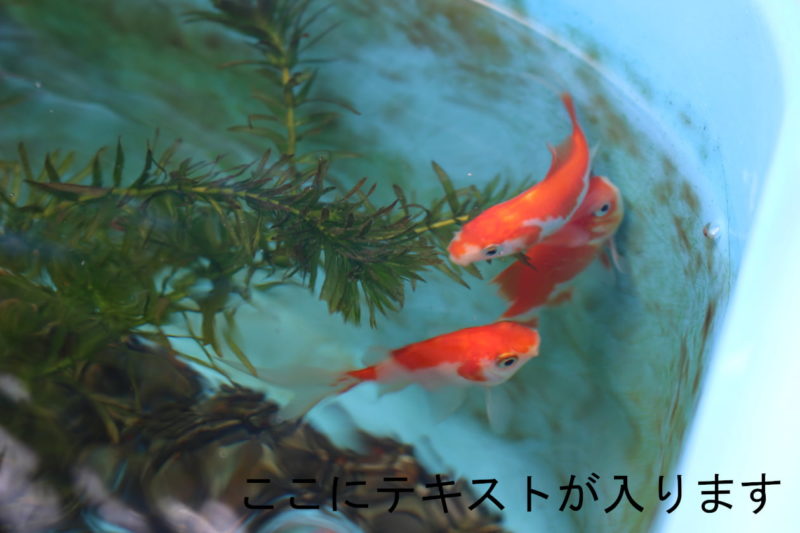
▼以下のようにウォーターマークが挿入されました。
というわけで、今回は「BIMPプラグインのバッチ機能を使い、画像にウォーターマークを簡単に入れる方法」について解説しました。
BIMPを使うことで、ウォーターマークを簡単に入れることができます。もちろん、無料で使えるので、コストがかからなくて済みます。
フォントの色やサイズ、種類などは、画像のサイズや内容に合わせて調整してくださいね。
先日(2021年7月28日)、Googleの公式ブログ「Google Ai Blog」にて公開されている記事を読み、驚きました。
内容によると、ストックフォトサービス(有料の画像素材サイト)において、現状では画像からウォーターマークがキレイに消えてしまうという問題点があり、それを防ぐためには画像に入っているウォーターマークに「歪み」を入れておく、ということです。
私も「自分で撮影した/作った画像にウォーターマークを入れておけば大丈夫」と思っていたのですが、こういった記事を読んだ後、もう少しひと手間加えないと画像の著作権の保護はできないなぁ、と思いました。
画像に入っているウォーターマークが消されないように工夫することも必要だね。